A screenshot is often the most believable thing in the post.
It shows the chart, dashboard, product screen, testimonial, article excerpt, or result instead of asking the audience to trust a paraphrase. But raw proof is not the same as clear communication. A messy screenshot can hide the very evidence that makes it valuable.
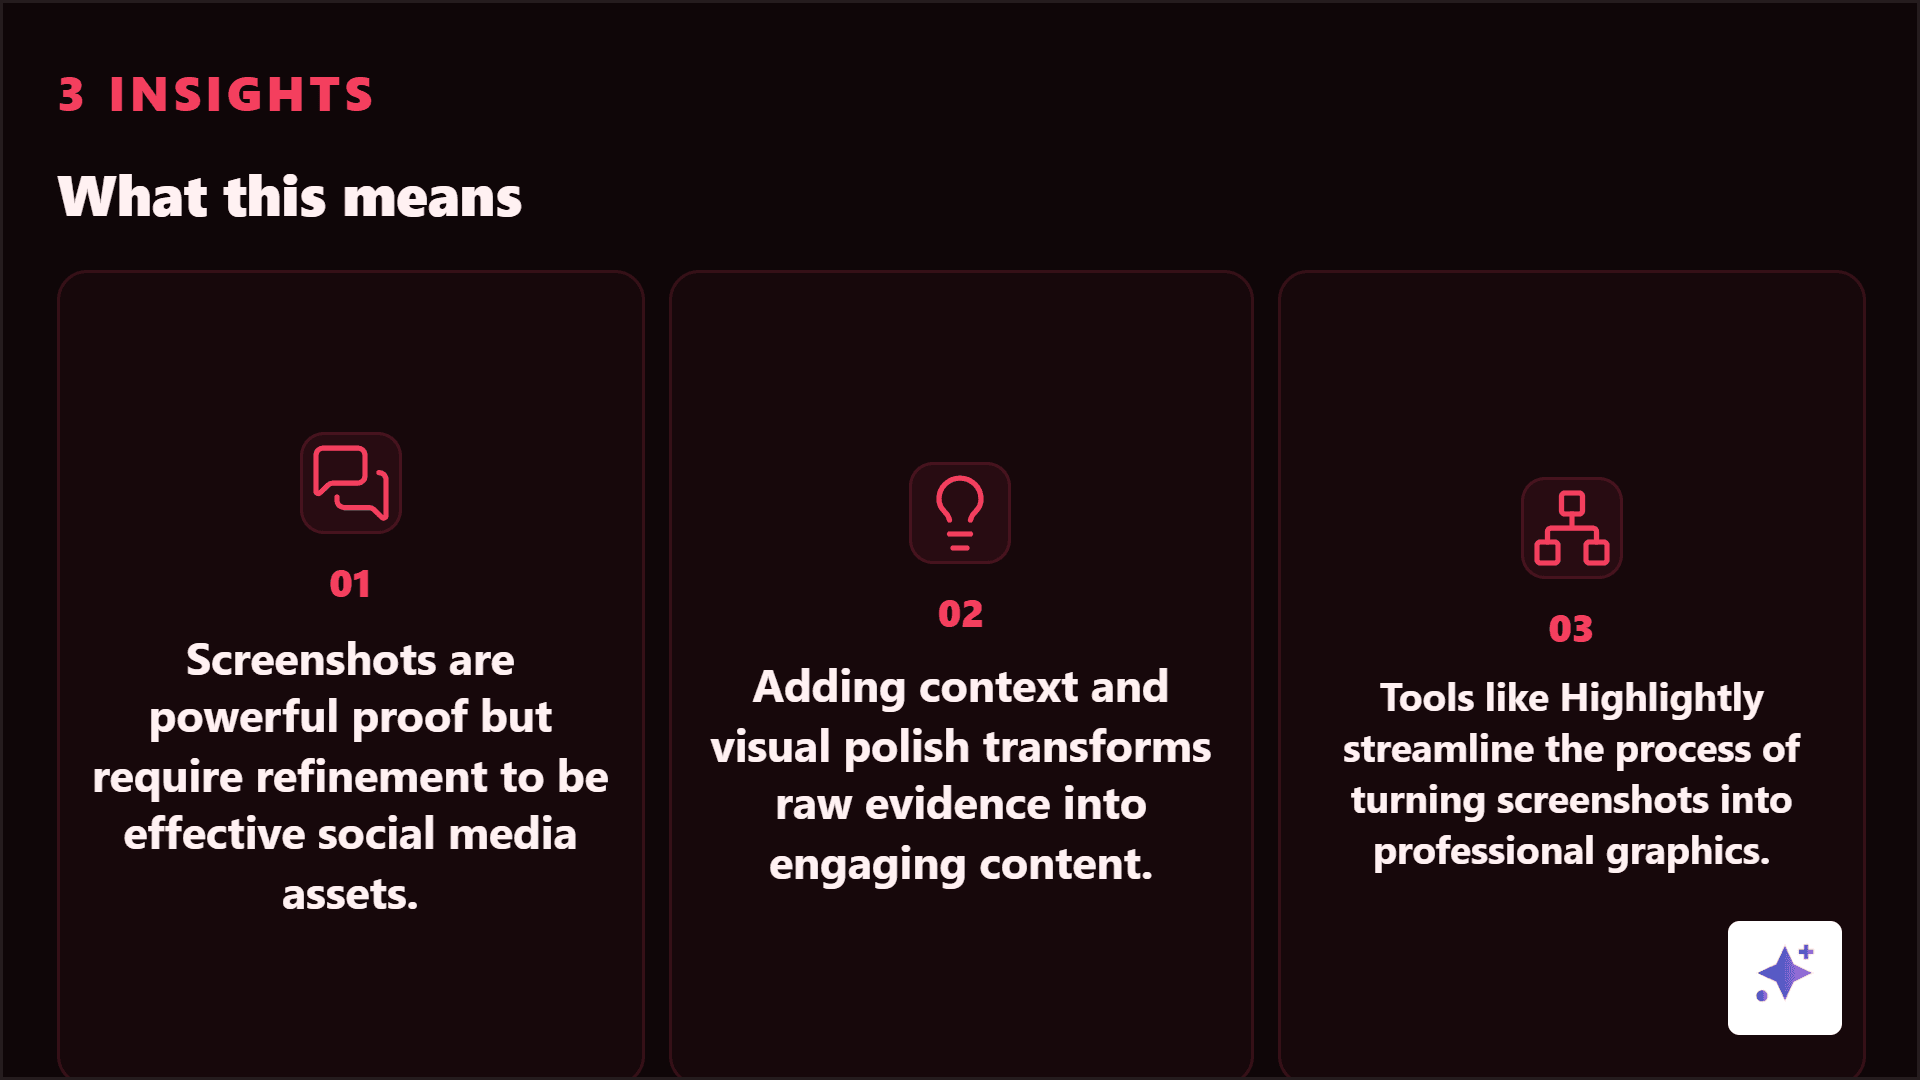
The problem
Raw screenshots are credible but often confusing
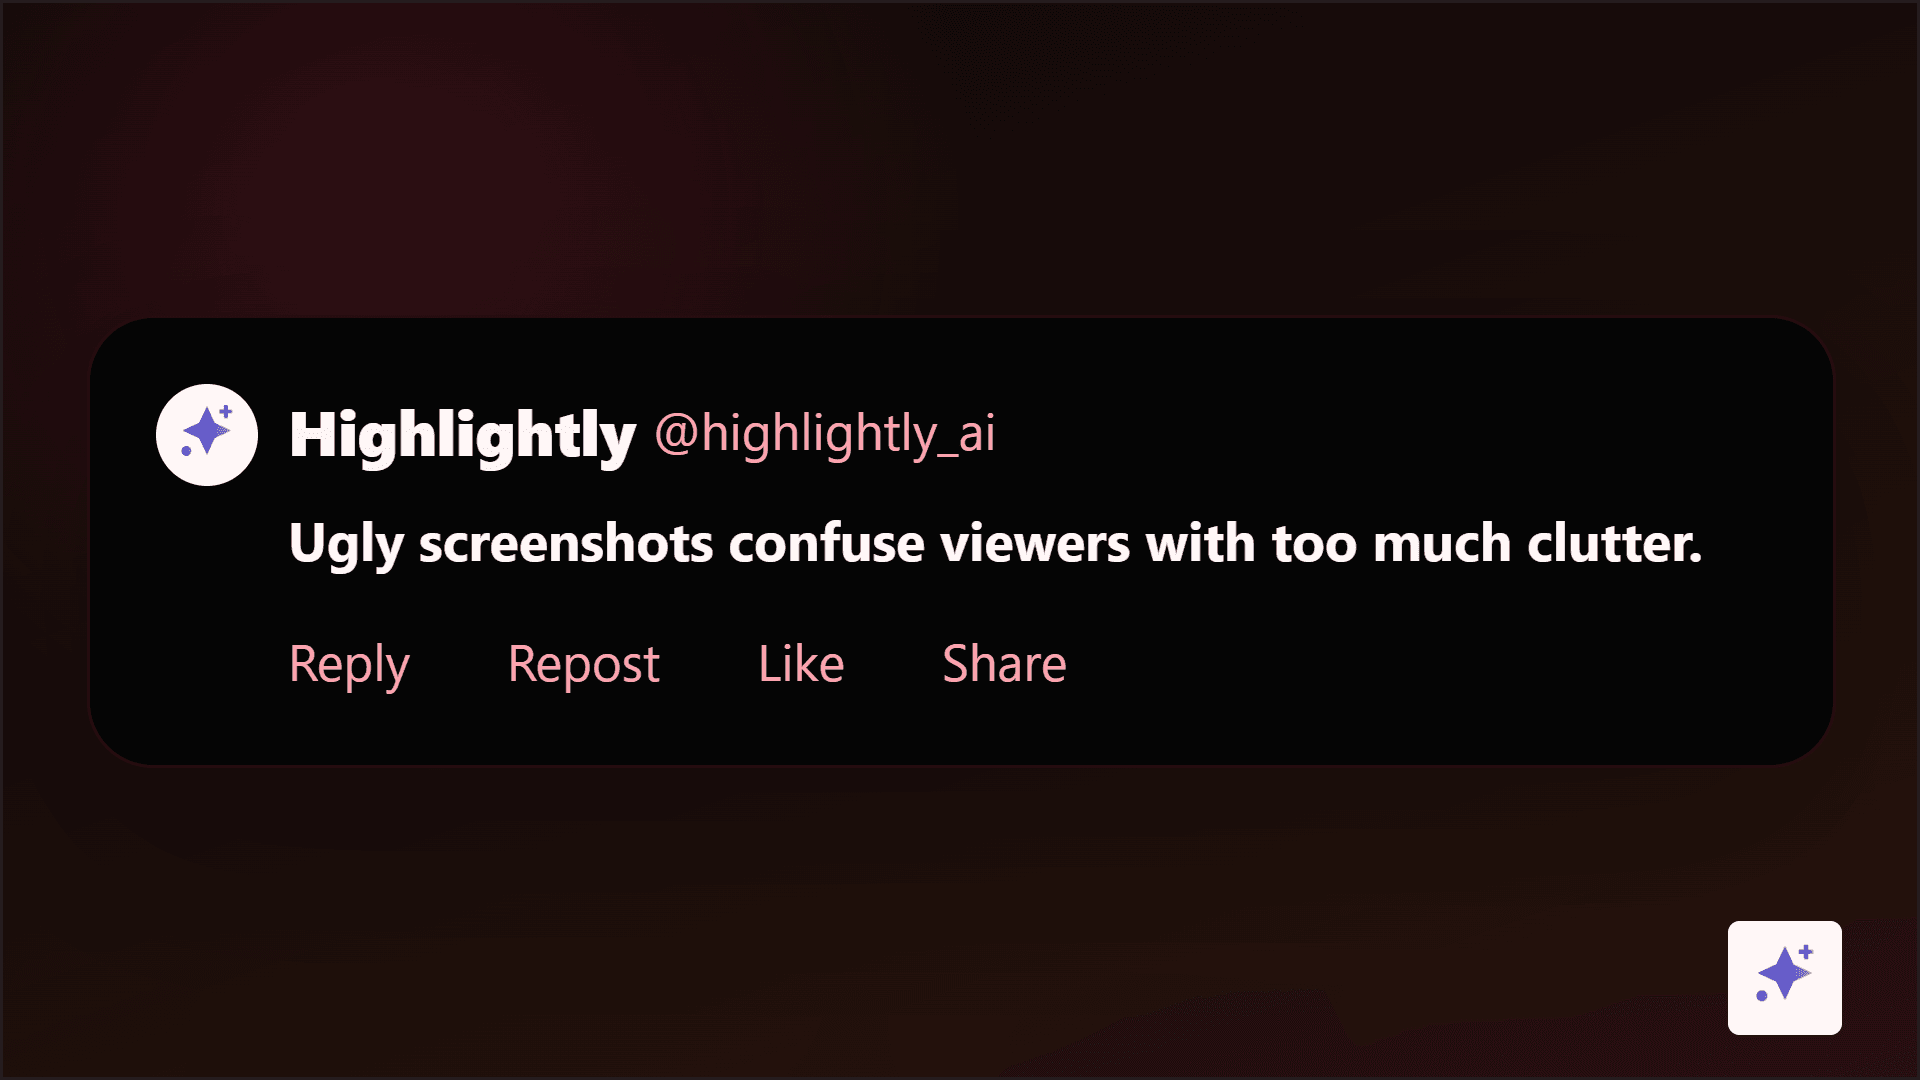
Most raw screenshots include too much: browser chrome, sidebars, tiny UI, irrelevant controls, private details, and no visual direction. The viewer has to figure out what matters. In a feed, that is too much work.
The graphic should tell the viewer what to notice.
A screenshot social graphic needs a headline, crop, highlight, source or date line, and privacy check. Design is there to clarify the proof, not disguise it.
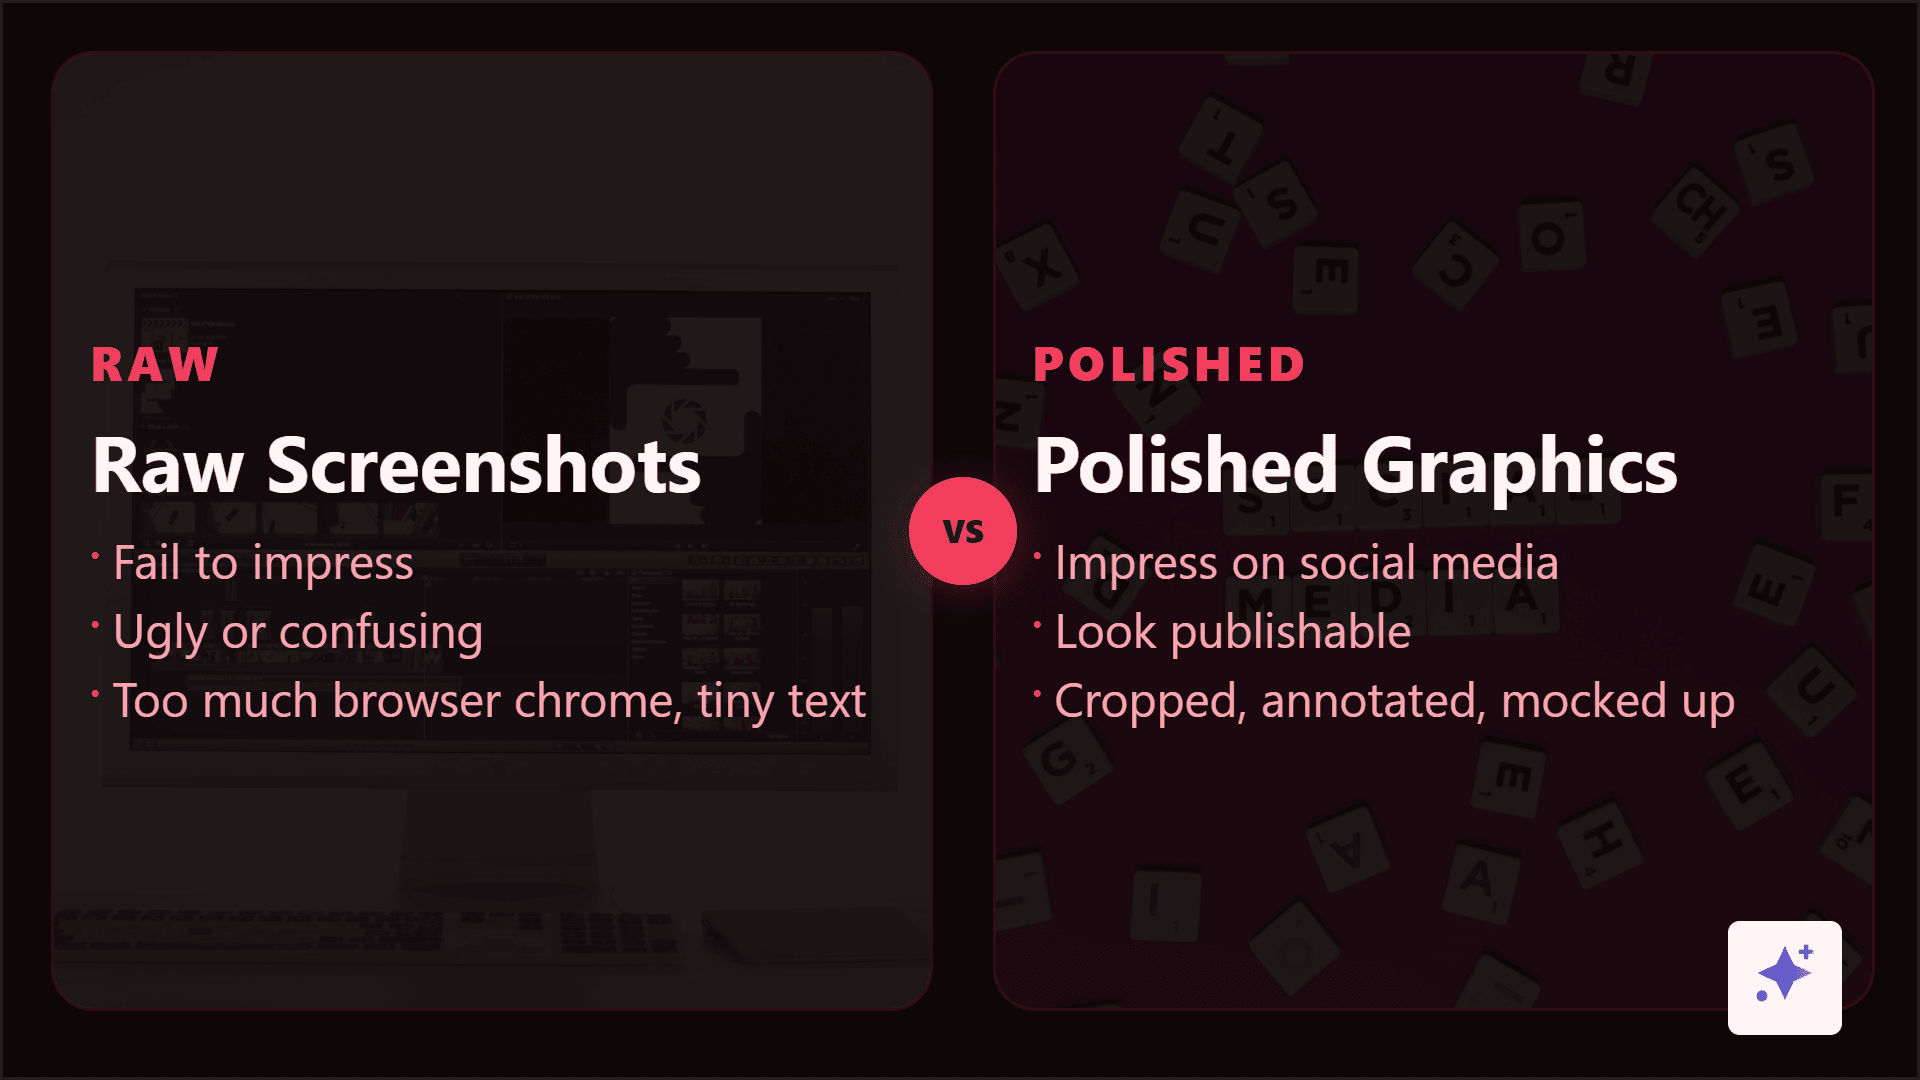
Before and after
The raw screenshot has proof. The enhanced version has direction.
Use the raw capture to preserve evidence, then crop, frame, brand, and annotate so the proof becomes readable in a feed.

Checklist
What makes a screenshot social-media-worthy
Use a screenshot when it
- Shows something real and verifiable.
- Contains information the audience cannot easily get elsewhere.
- Supports a specific claim, lesson, or comparison.
- Can be cropped to remain legible on mobile.
- Can be shared ethically with attribution and privacy protections.
Workflow
The screenshot-to-social workflow
Turn a raw screenshot into a finished asset
Capture or import
Start with the page, product UI, chart, testimonial, dashboard, or report excerpt.
Crop to the proof
Remove clutter and focus on the evidence the post is about.
Add context
Use a headline or caption layer to tell the viewer what they are seeing.
Annotate lightly
Use subtle highlights, callouts, arrows, blur, or spotlight effects to direct attention.
Frame and brand
Use a browser, device, social, or branded frame only when it helps the screenshot feel intentional.
Export for the platform
Choose square, portrait, or landscape based on where the screenshot will be published.
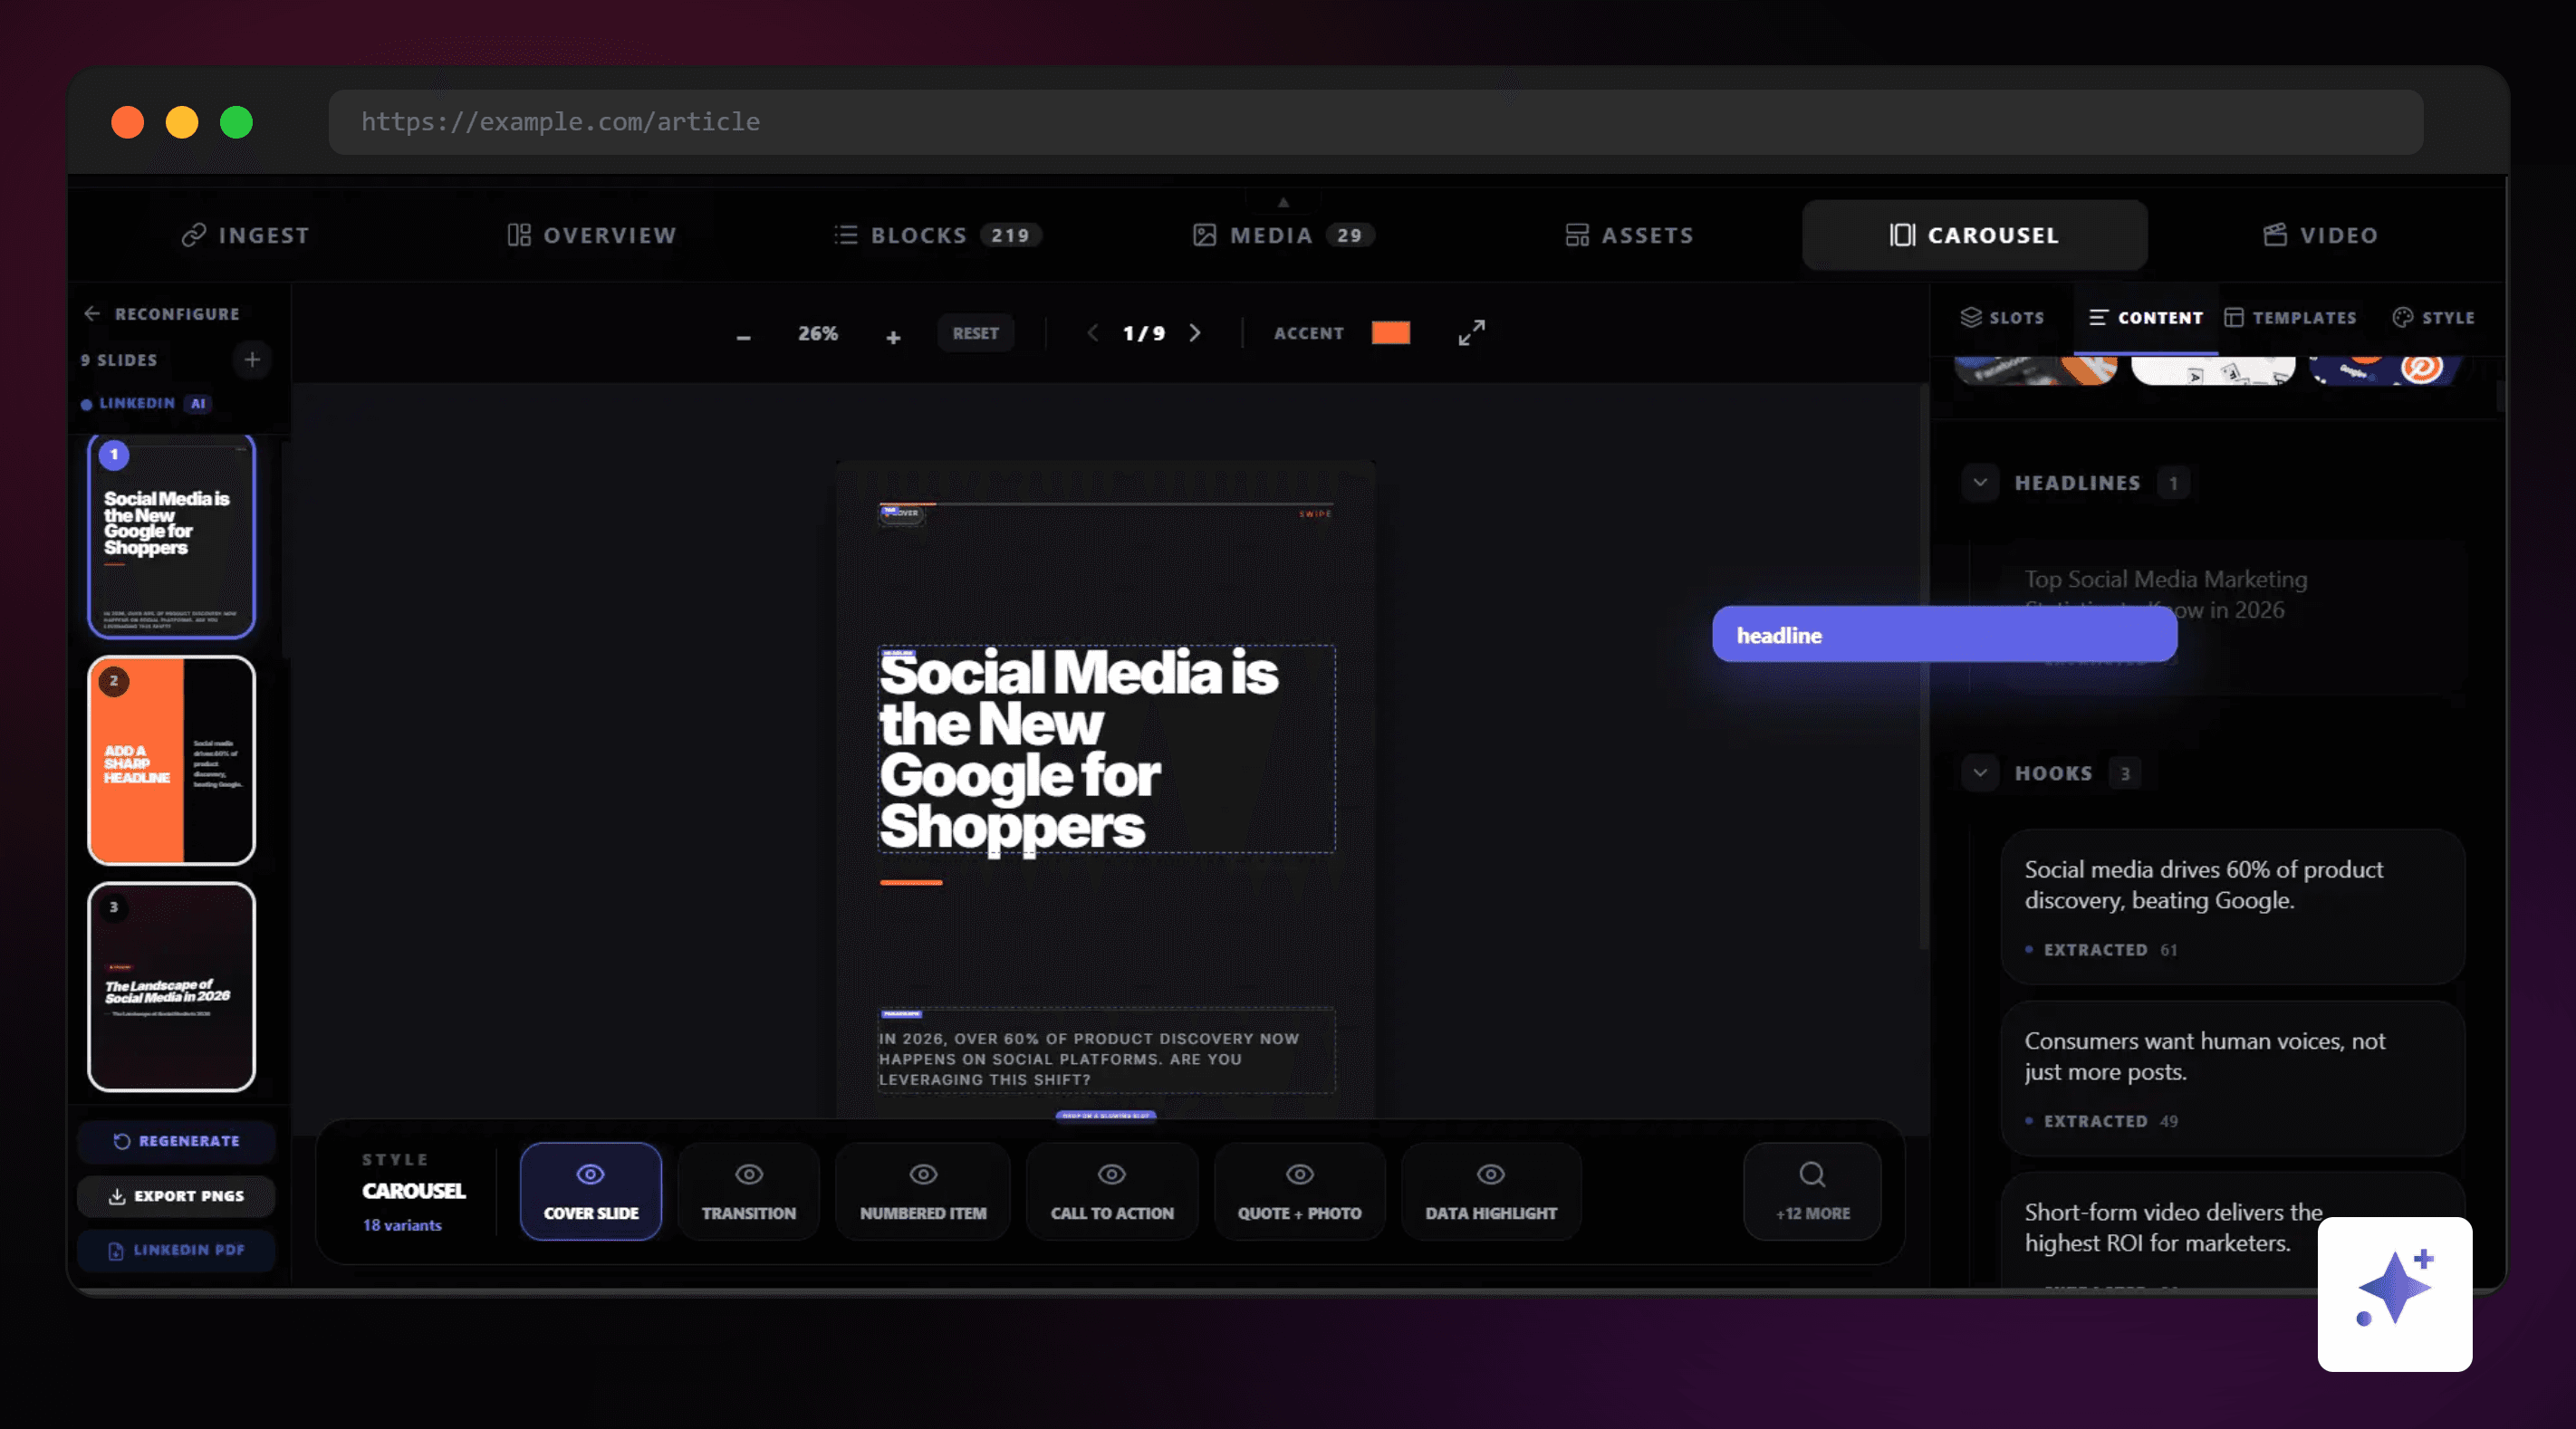
Highlightly workflow
Where Highlightly fits
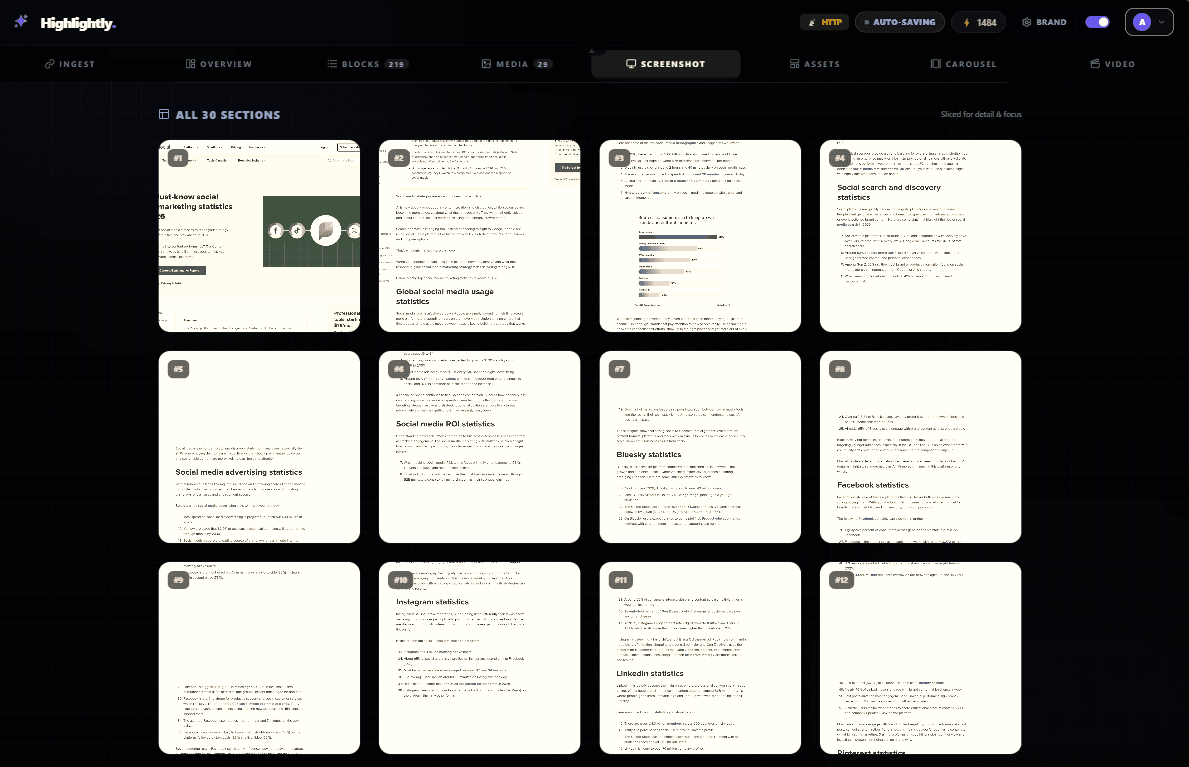
Screenshot formats
One screenshot can become several social-ready proof assets.
These Highlightly-generated examples show how the same proof idea can become a comparison card, checklist, X-style post, or browser-framed graphic.
Highlightly has a dedicated screenshot workflow: capture desktop or mobile screenshots, save useful page sections, crop proof points, apply treatments, and move selected screenshots into the asset workflow. From there, LightboxStudio can add mockups, captions, arrows, highlights, blur, brand frames, logos, watermarks, and platform exports.
Manual screenshot cleanup vs Highlightly
Mockups
Use frames when they add meaning
Product workflow
Capture, annotate, and export screenshots inside Highlightly.
Use the Screenshot tab and annotation controls when the source proof needs a full workflow, not a one-off crop.


A browser frame can make an article crop feel like a source. A device frame can make product UI feel like a demo. A social post mockup can make customer proof feel native. But every frame has a cost: it shrinks the evidence. If the screenshot becomes unreadable, skip the frame.
Annotation
Keep the markups quiet and useful
Professional screenshot annotation is rarely about giant arrows. Use subtle highlights, thin outlines, dimming, blur, numbered callouts, and short labels. The viewer should feel guided, not shouted at.
Ethics
Protect privacy and preserve meaning
Screenshots are easy to trust, which makes misuse especially damaging. Do not crop data in a way that changes its meaning. Do not reveal private customer information. Do not screenshot paywalled or private content as if it were public. Add attribution when the screenshot comes from someone else's source.
Polish the proof
Do not post the raw screenshot.
Bring it into Highlightly, crop to the evidence, remove anything private, add context and annotation, then export a graphic that looks intentional.
Beautify a screenshotScreenshots work because they feel real. They convert when they feel clear.
The best screenshot graphics preserve the credibility of the capture while adding the context, crop, highlight, source line, and brand treatment a feed needs.
- Crop around the evidence.
- Guide the eye with light annotation.
- Blur private details before publishing.
Frequently asked questions
Research sources